ReqView 2.12 — Traceability Wizards
Create new requirements traceability columns in the Traceability Wizard easily. Go back in link browsing history. Create URL links to ReqView documents. Export digitally signed PDF files.
Add New Traceability Columns by Wizard
We have heard from some customers that adding new custom columns displaying the Requirements Traceability Matrix (RTM) is difficult because they need to learn how to code ReqView templates. With ReqView 2.12.0, you can simply generate new traceability columns using a wizard in just a few clicks, see how:
In the Traceability Column Wizard dialog, you can configure displayed traceability levels in a table. Each table row represents a traceability level:
- Set Link Type to filter displayed links by a link type and direction
- Set Linked Document column to filter displayed links by a linked document
- Enable Text to display the description of linked objects
- Choose Attribute to display the attribute value for linked objects from the chosen linked document
The Preview section of the dialog shows the template column output for the selected document object. Check Show template to display or copy the generated template code in the dialog. Press OK to add the new traceability column into the table view. You can further edit the generated template code, see Template Columns.
Set Project Traceability by Wizard
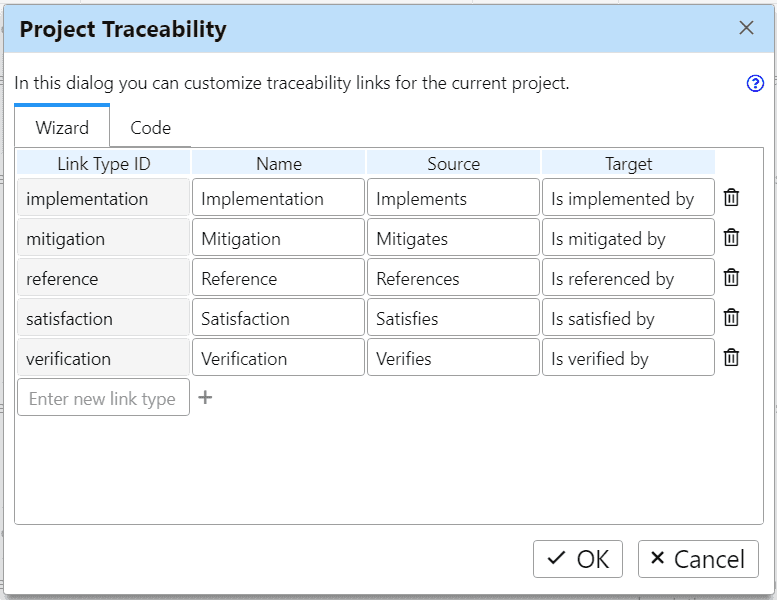
Configure project traceability links conveniently in a table using the Wizard tab in the Project Traceability dialog:

Each table row represents a link type, and you can set for each type the following columns:
- Link Type ID — unique link type identifier (e.g. "satisfaction")
- Name — link type name (e.g. "Satisfaction")
- Source — short text describing the role of the link source (e.g. "Satisfies")
- Target — short text describing the role of the link target (e.g. "Is Satisfied By")
To add a new link type, select the text box under the table, enter a new link type ID, and press Enter. The corresponding new row is inserted into the table.
To delete an existing link type, click on the right of the corresponding row.
Share URL Links
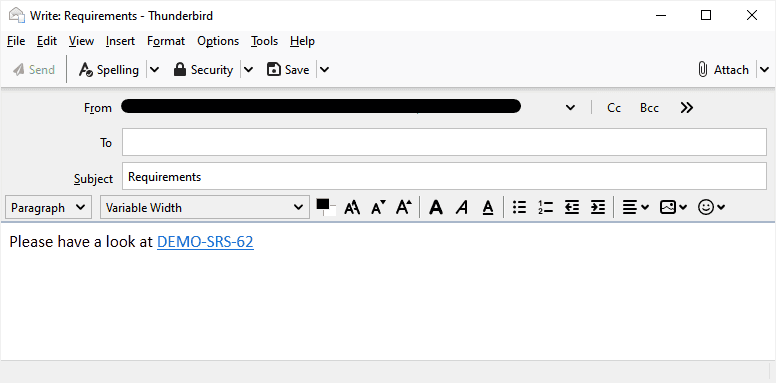
Share the URL link to a ReqView requirement by email or company chat, reference it in a document or a ticket, etc. Or, paste the URL link into the ReqView rich text editor to link requirements between ReqView projects.

To copy a URL link to the selected document object, click button in the toolbar or press CtrlK. Click on a pasted URL link to navigate to the related document object in ReqView application.
Note: Before using this feature, enable Edit > Preferences > Register file and protocol handlers option to handle URL links with reqview: protocol by the native ReqView application for Windows, Linux, or Mac. URL links cannot be handled by the ReqView web application.
Link Browsing History
To navigate back or forward in the link browsing history, click / icon on the main toolbar or press Alt← / →.
Export Digitally Signed PDF Files
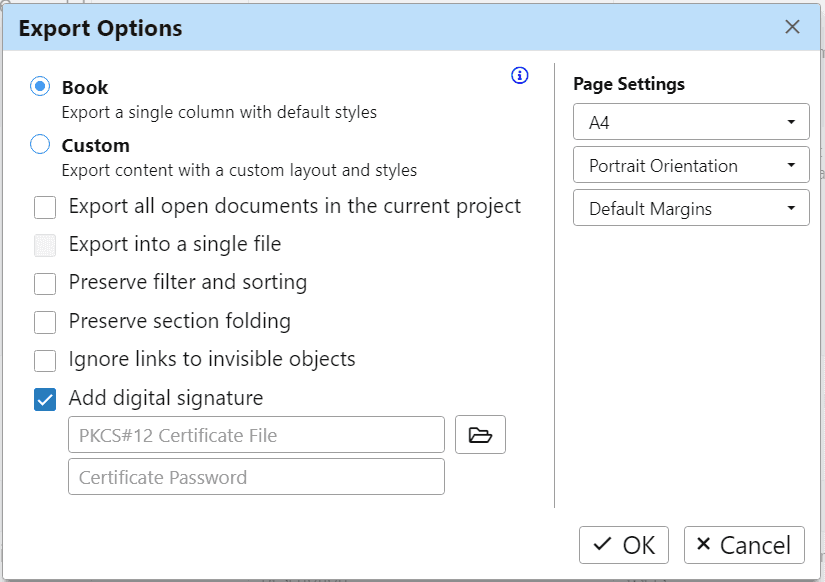
Choose File > Export > PDF File menu item to export open documents into a PDF file:

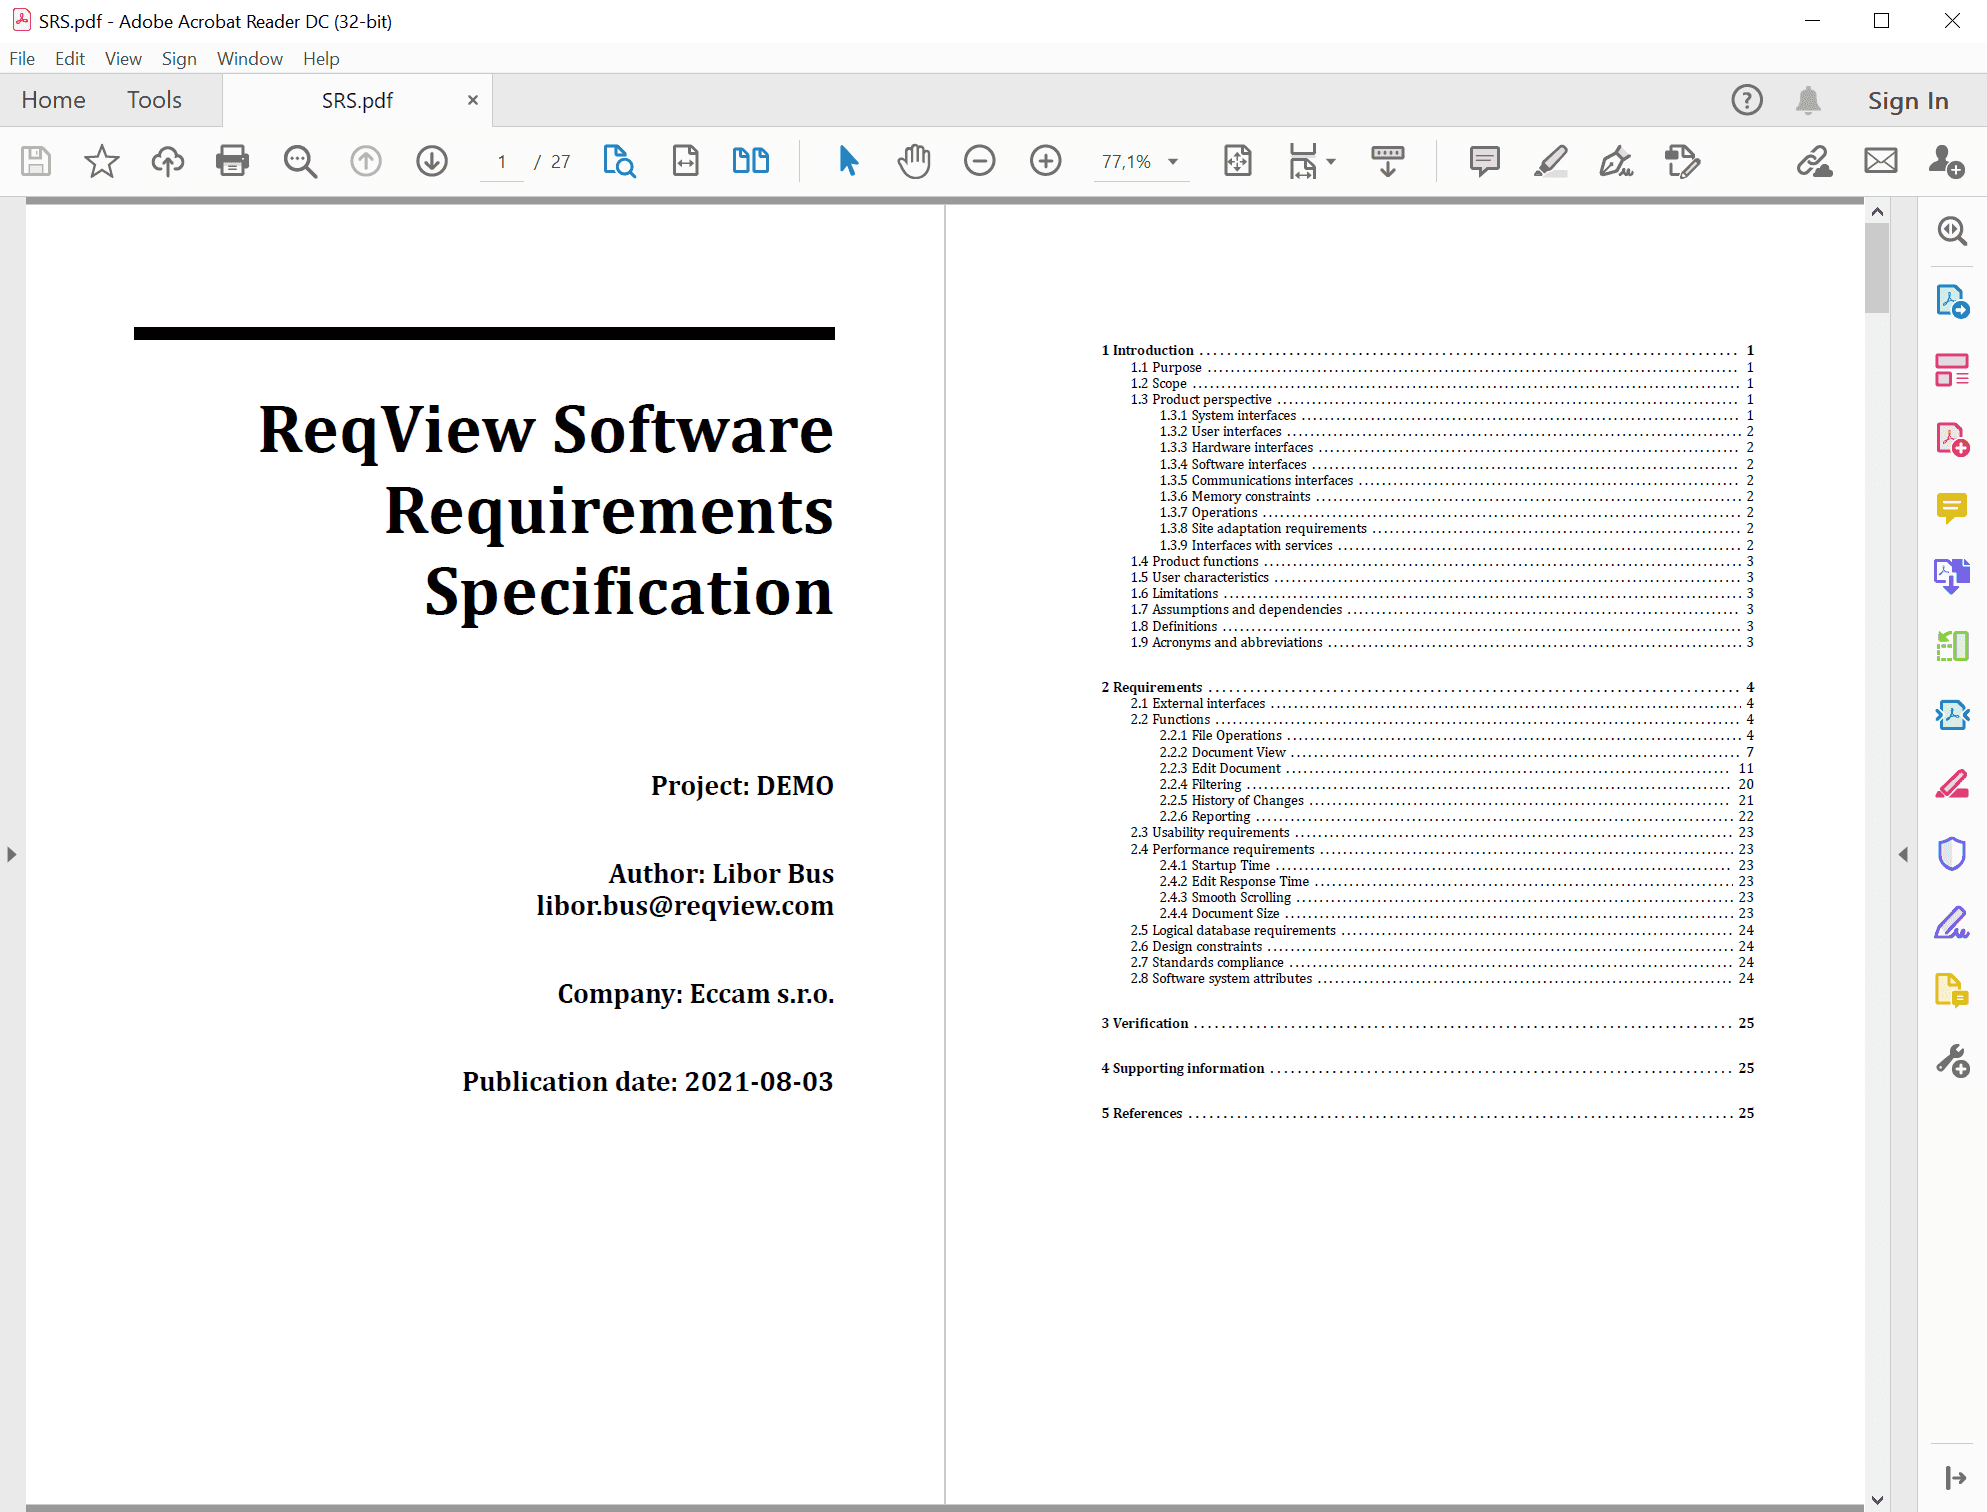
Choose the default Book layout to output a PDF file with a predefined title page and a navigable table of contents:

Choose Custom layout to output a custom PDF document using your own HTML template.
Select Add digital signature and choose a .pfx or .p12 file with your certificate to digitally sign the exported PDF file. For more information, see Digital Signature.